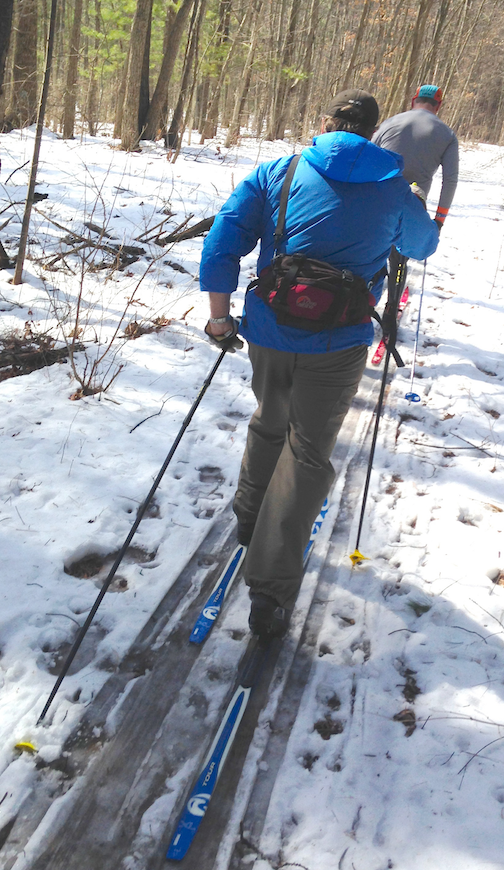
BEST SKI TIPS:
i’ve been teaching awhile and this is the most distilled i can get the process.
it’s good for learners to keep in mind the goal. i think a good goal is to learn to ski. what is skiing? it’s moving across the snow in all conditions with: *glide, *rhythm, *payoff. …we’ll get you there!
this is not the “work” part of skiing. learning is fun! this is when you get to party with your friends and a teacher. each of these drills should be pleasant to do. they shouldn’t be something that is awkward or stiff meant only to get you to “skiing.”
juice!
to help make it more relaxed and help the ideas sink in, please bring along a juice box or two of apple juice. maybe a bit of white wine for later in the lesson. some snack nuts wouldn’t hurt. every very few minutes have a little squirt and snack.
and don’t try to make each part very long or require that you master it. nibble away at it a few times. do each thing for, like a couple minutes. do it for 50 yards, back and forth.
just left alone, a beginner can have some fair fun on skis on the flats. they will tend to ski with a certain range of motion that has a certain particular style commonly seen in all beginners. they’ll have what’s called late kick and always have at least some weight on both feet and will have a very upright posture. the arms are wide and reach far forward and do not pole back much. this style is fine for cruising on the flats, esp when wearing a heavy pack. it’s also good for sight-seeing or just chatting and shuffling w friends. it’s not sporty nor has much potential. it’s limited to the speed range of slow > medium. and it’s not even easy at that. it’s a slower way to go slow. it can take a lot of work without giving much back. it causes a big problem going up hill so sometimes skiers will switch into jogging up a hill which thankfully works but isn’t very restful for a longer outing. beginners also will tend to go down hills unsafely: w legs locked straight, butt back, hinged at the waist arms out and forward — and they go from crash to crash.
so the goal for these simple drills and practice motions isn’t to make you stop skiing however you might be already, nor is it to look a certain way, but it is specifically to add to what you’re already doing. to develop a wider range of weighting, better weight transfer, a slightly more forward center of gravity, timing options that synergize, and safe stability everywhere, esp on downhills.
so we’ll do drills that help a beginner gradually add to their repertoire.
maybe it’s hard to visualize this, but we ideally want to ski with some knee and ankle flex and a couple inches of forward tilt to the body. this lets you instantly, effortlessly, and without thinking adapt to changes in the trail. and it lets you easily propel yourself. you want to plant the poles near your feet so the handles angle forward and push rearward, and to time your kick closer to your poling motion so they combine and help each other. this lets you ski efficiently, use more muscles, go faster with less effort. also, flexed legs and forward hands makes downhilling easy, relaxed and safe.
the advanced posture is only a couple inches more forward. the center of gravity is a bit more forward. but it makes a lot of difference in how easy and relaxed and securely you can ski.
here’s how we learn to do this:
learn how to take your skis on and off inside your house. learn how to use your poles by looking at some pictures. not gonna do that here.
you’re outside in a nice wide safe snowy place with some smooth, even packed snow.
train your brain
take your skis off and walk around swinging arms like in normal walking, compare to tighter, more bent arms as when jogging — both kinds of arm-swing are great in skiing.
ppl have a hard time w arm timing. it’s good to try to entrain the brain before you try to ski. the arm swing timing is the same as w walking or running.
stand still, step forward, and relax on that forward foot, let rear foot hang or float. just stand. in that forward pose. do it for both feet.
stand in place, swing arms, bounce the legs and ankles up and down in time w the arm swinging. bounce low as hands pass your legs
jump!
jump up and try to land without a sound — you’ll have a deep knee and ankle flex — hands forward — this is a great position to teach you what skiing prefers, esp downhills. jump like this at the top of each downhill.
practice making a star in the snow by keeping your tails in the middle and moving your tips around then by keeping your tips in the middle and moving your tails around — do each of these in both directions.
we corner on skis in two ways: by using a skating motion — your outside tip points to the outside of the trail. or by swinging your tails out and keeping both your tips pointed the way you want to go. you can stride and kick’n’glide around a corner if you swing out the tail of your outside ski. you can also ski through a narrow corner this way.
to go down a hill, pick a wide easy smooth hill to start with. at the top do the “jump with quiet landing†to get into a stable, ready posture. then glide down the hill while practicing moving from foot to foot while going down the hill. don’t lock into one position. move from foot to foot. shuffle your feet to go around curves. take a fast corner in small pieces.
to maneuver XC skis lift them up then set them down. you can’t really shove them or skid them around unless a trail is smooth. if you do want to skid, first flex low, then push up, unweight, then position where you want them and drop down into a skid. this is how you do snowplow braking with XC skis. you can do it more or less and with one ski or both. if you snowplow w one ski you can both brake and turn at the same time — for going around a downhill turn
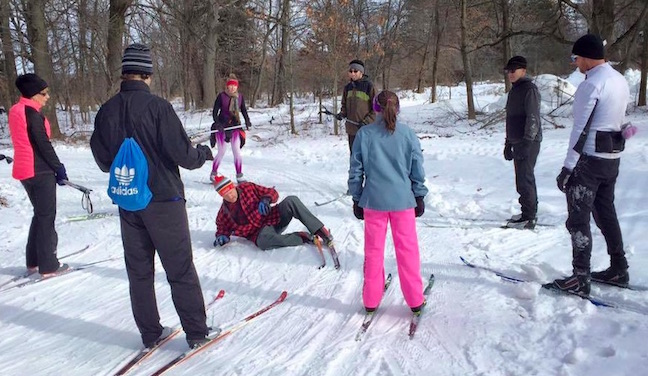
practice getting up from a fall right away. there is one nice way to fall: back and to the side. if you’re ever feeling like you’re going to fall let yourself down and to the side. to get up, put both skis together and across any fall-line. then get poles on either side of you w baskets pointing to the rear. kneel up on one foot, put both poles up, then stand up, then brush off right away.
put skis on and ski back and forth without poles — try both long and short arm swinging — try longer and shorter leg actions — ski up a gentle hill
put one ski on — and scooter — try three variations of scootering: pure scootering with fully weighted glide foot, like it’s a skateboard — also try changing all weight from foot to foot and kicking through with the glide foot that has the ski on — also try just unweighting the glide foot as you step onto the kicking foot, but without swinging or disturbing the glide foot much. do this both feet.
put both skis and pole on and ski back and forth. try it skiing very lightly with small motions. try it skiing long and low. try skiing with a gentle continuous motion — with faster and slower parts but always moving. note: when you’re gliding you’re slowing down. it takes more work to always be re-accelerating. also: glide comes from kick. don’t kick then “hold†for the glide.
when going up a hill, if you slip, immediately drop lower a few inches — it gives better grip. so think about skiing a bit lower in general whenever you want to have better kick and more glide. low or tall skiing each have their helpful times.
double poling
practice doublepoling. try crunches without much arm action or torso bobbing. let your body fall onto the poles.
kick doublepoling — throw all weight onto the glide foot — kick your body weight forward and catch yourself on the poles, fall on the poles then drive the kicking foot forward, then kick again. KDP is really good for teaching how to move your weight forward.
add more arm action to your double-poling. compare the feeling and what happens when you do crunches w no arms versus using a lot of arm action. and then compare bobbing your torso a lot up and down versus hardly moving the torso
striding double pole is nice, easy, and useful — your leg action is like regular striding but you double pole w every other stride. it’s especially nice for varied terrain and track conditions. you can also use it to go uphill.
note: when your arms are coming through and lifting to kick or stirde doublepole you can kick harder: equal and opposite reaction — as you lift hands/arms briskly you can press down harder. this is also true for kick’n’glide. when we kick in time w one arm poling and the other arm swinging forward we make it easier to press our ski down to get grip
gears
the ski techniques are like gears of a bike: 6 fastest is just gliding in a tuck. 5 double poling is good for fast skiing on the flats. 4 kick DP if there is a slight uphill or resistance. 3 striding double pole for more uphill and more trail instability. 2 striding for uphills and being “ready for anything.†1 herringbone for steep climbs. (skidaddle angled for going up gullies.)
do herringbone just like regular skiing — use full arm and leg motion and try not to waddle much or put your poles out that much. Vee out one ski then step up and past the lower ski
trotting up a hill gives good grip — see what it’s like to use that style when skiing on the flat then stretch out the aspects of it to get more glide
if you are getting easy grip on an uphill, try extending each poling arm back more. this helps lengthen your stride and you can get glide uphill
it’s probably ok to have a bluetooth speaker playing some nice swing music while you learn to ski. maybe after you’re starting to get the hang of it.
